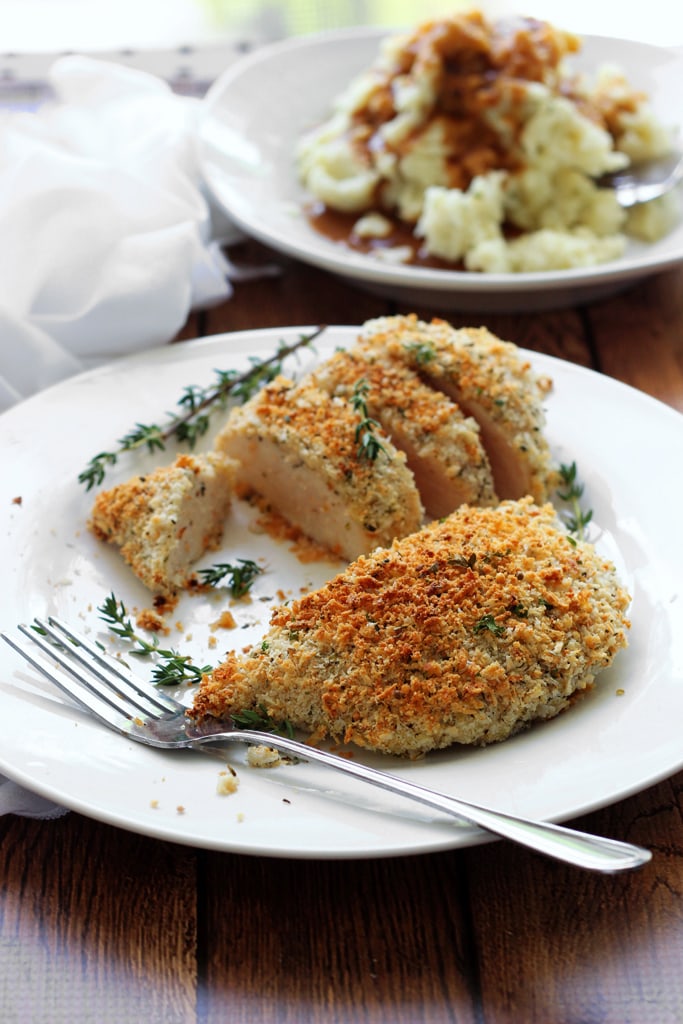
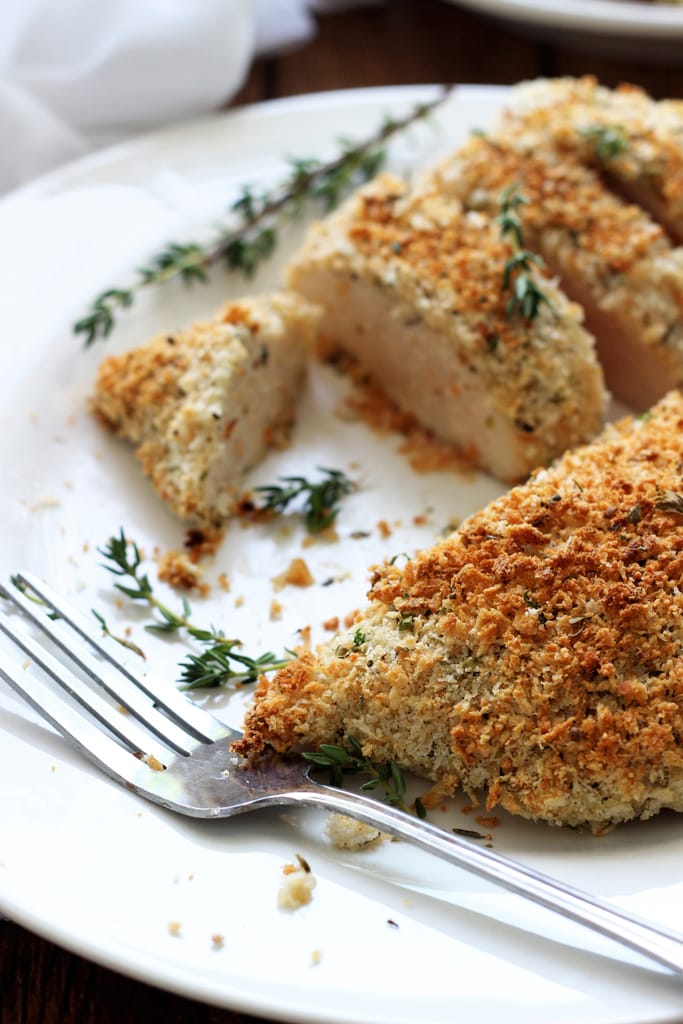
Easy-baked Parmesan and herb crusted chicken breasts are baked in the oven with panko breadcrumbs, Parmesan cheese, Italian seasoning and sage.
I love fried chicken as much as the next girl. And super crispy skin is one of the BEST parts of fried chicken. Bad and bad, I know. Buuut you know you can kinda have the same thing without the frying. I won’t lie and say it’s as good as fried chicken but the breading on this chicken is definitely crispy. The answer is by baking it with panko breadcrumbs. Because these breadcrumbs make everything crispy, even sans fried.
It worked for panko-crusted tilapia. It’ll work for chicken breasts. And since it’s chicken we’re messing around with now, I’ll just go and add a few herbs that’ll make ordinary chicken into wow chicken. Just a little bit of Italian seasoning here and oh maybe some sage too.
Interested yet? How about if we add some Parmesan? Now that’s gotta be good. And it all comes together pretty darn easy. Dip it in egg and then roll it in the panko Parmesan herbed breading mix and bake! Yum! Let’s start baking.

BAKED PARMESAN AND HERB CRUSTED CHICKEN RECIPE TIPS
Chicken – Be sure to pound it to an even thickness so it cooks evenly in the oven. A mounded center usually means the ends will be drier by the time the thicker part finishes cooking. You can use a meat mallet or a rolling pin and place the chicken breasts between some plastic wrap, parchment paper, or in a Ziploc bag. NOTE: This is an old recipe of mine before I learned how to pound chicken breasts. The pictures will reflect this before I learned from my mistakes.
Breading – I used the classic breading technique of first dusting with flour, dipping in egg and using that as glue for the breadcrumbs to adhere to the chicken. Other options of breading you can try are substituting the flour and egg wash with olive oil, melted butter, or mayonnaise.
Panko breadcrumbs – I chose panko because it gives a light, airy and crunchier texture to the chicken compared to the grainy texture of regular or Italian breadcrumbs.
Parmesan cheese – Use grated Parmesan cheese so it spreads evenly in the panko breadcrumbs.
Seasoning – Feel free to substitute the herb seasoning with fresh herbs like oregano, thyme, basil, rosemary, or sage. Mix and match and find your favorite herb combination.
Cooking spray – Some recipes suggest spraying the chicken with some cooking spray before baking it in the oven to increase crispiness. Regular cooking spray, olive oil or a butter spray should all work.
Baking – Bake with either a baking sheet lined in parchment paper or foil, in an oven-safe skillet like a cast-iron skillet, or in a casserole dish.
Make it over the stovetop – Pan-fry the chicken on both sides over medium heat until browned and cooked through, about 4 minutes per side or until the chicken reads 165°F on a meat thermometer.
Serve with – Some suggestions would be some greens on the side like asparagus, broccoli, or green beans. Pair it with a third side like mashed potatoes, risotto, or cauliflower au gratin.
This recipe will also work with chicken tenders as well, although I’d suggest reducing the baking time since they’re smaller and cook faster. Maybe 10 minutes would work. Let me know! I’ve done something similar with these oven-baked buttermilk chicken strips.
And that’s about it. Enjoy your chicken, happy eating and let me know if you liked it, what you paired with it or any substitutions you made in the comments below!
MORE CHICKEN BREAST RECIPES TO TRY
- Oven-Baked Chicken Breast
- Garlic Butter Baked Chicken Breast
- Honey Garlic Chicken
- Maple-Glazed Chicken
- Herbed Ranch Chicken
- Creamy Lemon Garlic Chicken
Did you make this recipe? Rate it!
♡ If you liked this recipe, giving it a star rating ★★★★★ in the comments below really helps! For more recipes, subscribe to my newsletter or follow me on Facebook, Instagram and Pinterest.

Baked Parmesan and Herb Crusted Chicken
- Total Time: 30 mins
- Yield: 2 1x
Description
Easy baked Parmesan and herb crusted chicken breasts are baked in the oven with panko breadcrumbs, Parmesan cheese, Italian seasoning and sage.
Ingredients
- 2 boneless, skinless chicken breasts (5–8 oz. each)
- 1 large egg, beaten
- 1/2 cup panko breadcrumbs
- 1/4 cup Parmesan, grated
- 2 teaspoons Italian seasoning
- 1/2 teaspoon dried sage
- Salt and pepper to taste
Instructions
- Combine breadcrumbs, Parmesan, Italian seasoning, sage and salt and pepper to taste to make the breading.
- Dip the chicken in the egg and then dredge the chicken breasts in the panko mixture, patting it in to adhere until fully coated.
- Transfer chicken to a baking sheet and bake at 425°F for about 20 minutes or until the chicken is cooked through and the crust has browned.
- Dish and serve hot.
- Enjoy!
- Prep Time: 10 mins
- Cook Time: 20 mins


Comments & Reviews
It’s a good recipe but subpar its basic and you missed a basic step in the recipe. Flour than egg mix than bread crumb the egg needs something to adhere to also baking the chicken at such a high temperature takes a risk at drying out.