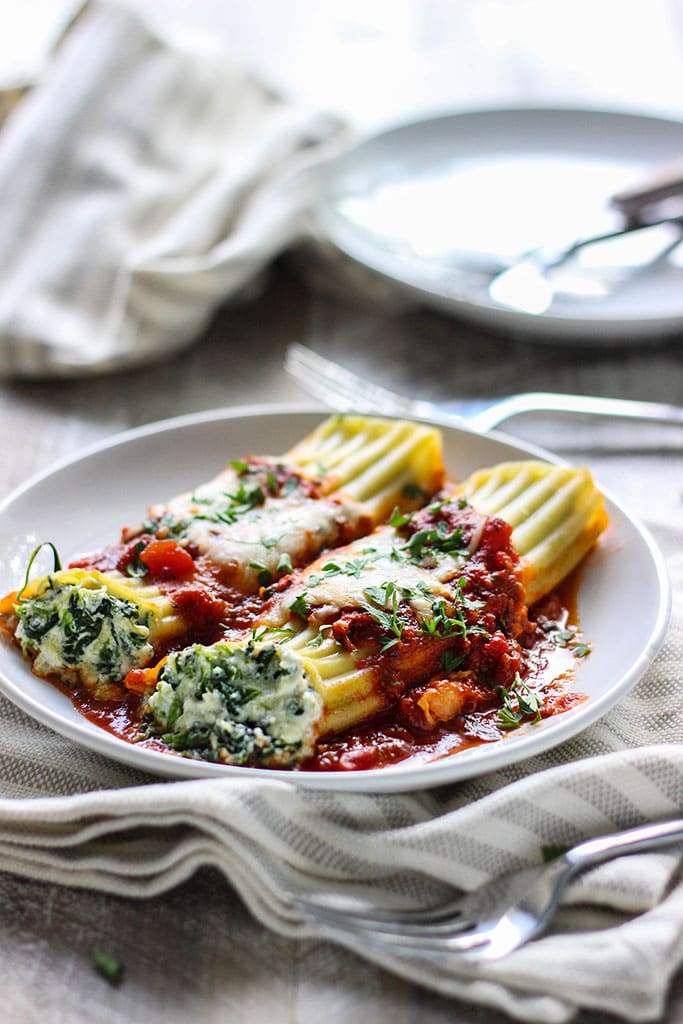
This spinach and three cheese manicotti is perfect for Italian food-loving vegetarians. Enjoy the perfect comfort food this fall with spinach and cheese stuffed manicotti smothered in marina sauce.
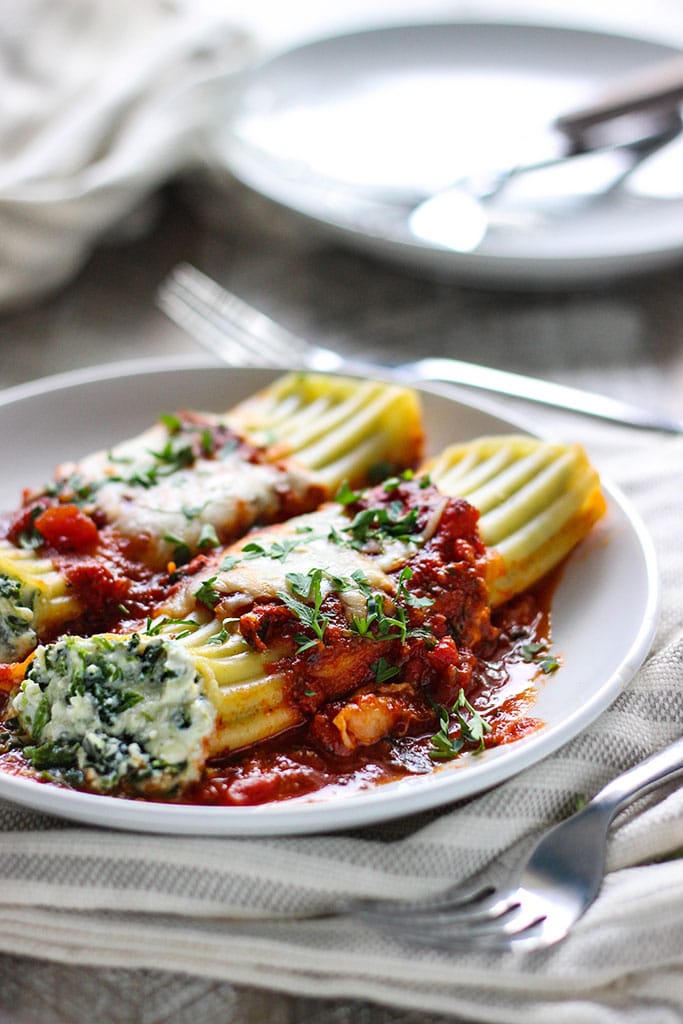
I’ve been wanting to try manicotti for a while now, so here we go. I love the idea of creamy and rich spinach and three cheese ricotta stuffing served with marinara and topped with more melty cheese. Since making these lasagna roll-ups, I’ve been looking for an excuse to use more ricotta cheese. And here’s the perfect recipe for it. It was delicious!
Paired with your favorite marinara sauce, this one really spells comfort food. So for vegetarians or those just wanting to cut back on red meat, here’s a great dish for pasta night. Serve them with some homemade garlic bread or garlic knots and enjoy!

It’s pretty much as straightforward as it looks. I’d say this would be for intermediate cooks or at least those who have some experience piping (first timer here). Instead of trying to stuff the manicotti shells with a spoon, I took to putting it all in a Ziploc bag and snipping a corner off to mimic a piping bag.
It worked out pretty well, even with my inexperienced hands, but might deter some new to cooking. If you’re a baker though, this should be child’s play for you. So let’s start cooking!

SPINACH AND THREE CHEESE MANICOTTI RECIPE TIPS
I used about 10 manicotti shells for this one. The 8 oz. box I got had about 14 but with the amount of ricotta mixture I used, I only managed to overstuff about 10 of them. I figured it’s better to overstuff 10 shells than to under stuff 14 shells, so I went with that reasoning. It sucked a little because I hate wasting but I saw no reason to open up another tub of ricotta just for four more shells.
So we start by bringing a 6 qt. dutch oven to a boil. I added in some olive oil so the shells wouldn’t stick together. Not much is needed, just half a teaspoon or so. Cook the shells according to the package directions and be very gentle with them so they don’t tear. Some of the shells tore when I transferred it from the pot to a colander to drain.
The shells will also expand once it’s cooked so keep that in mind when you’re looking for a container to bake them in. A 9×13 casserole dish didn’t work for me so I ended up just baking them on a baking sheet. I also found it easier to separate and dish them out this way. In the end, it’s okay if they look messy, they will taste just as delicious. It was just a tad more stressful for me since I had to make sure they ended up looking nice for pics.
Back to instructions, while the pasta is cooking, you can steam your frozen spinach according to package directions or start cooking down your fresh spinach. Either way, once they’re cooked, drain any excess liquid on a mesh strainer and use the back of a spoon to squeeze as much out as you can.
You’ll want to do this so the ricotta mixture doesn’t end up watered down. So while the pasta is cooking, start mixing your ricotta filling, which doesn’t take too long at all.
Once the pasta is cooked, carefully drain it in a colander and run the shells under cold water so they don’t stick together. Tip: Once the shells are cooked, try using the plastic trays they came in to hold each one and to stop them from sticking together and flattening out!
Load a one-quart Ziploc bag with half the ricotta mixture, seal the end and snip off a corner to act as your piping bag. I filled up the bag in batches of two because I found it unwieldy on a full bag. Squeeze in the ricotta mixture from one end while tilting the shell at a 45-degree angle so it slides down to the center. Fill up the other end until full and push both ends in gently to pack them tightly.
Spread one cup of your marinara sauce on the bottom of a baking dish evenly. You can use store-bought marinara sauce straight from the jar if you don’t mind, or use your favorite recipe if you have one.
I made a couple of changes to the marinara sauce to the way I usually like it which is with a little sugar to balance out the acidity, some Worcestershire sauce and beef bouillon cubes to beef it up a little and a few Italian herbs and some red pepper flakes. Either way, go with super easy or customize it to your liking!
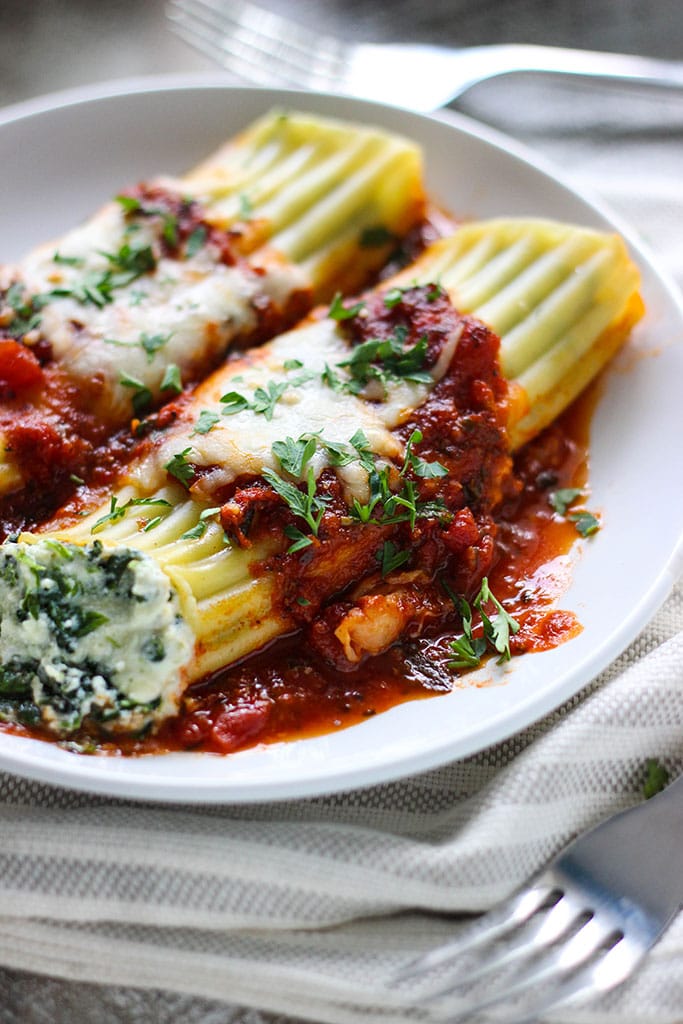
Arrange the stuffed ricotta shells on the baking sheet as you go until they’re all done. Top the shells with remaining marinara sauce and mozzarella and bake at 350°F for 30 minutes.
And that’s it! Happy eating!
MORE VEGETABLE PASTA RECIPES TO TRY
- Creamy Sun-Dried Tomato and Spinach Pasta
- Easy Vegetable Pasta
- Spinach and Artichoke Ravioli Bake
- Tortellini Alfredo Spinach Casserole
- Mushroom Alfredo
Did you make this recipe? Rate it!
♡ If you liked this recipe, giving it a star rating ★★★★★ in the comments below really helps! For more recipes, subscribe to my newsletter or follow me on Facebook, Instagram and Pinterest.
Spinach and Three Cheese Manicotti
- Total Time: 55 mins
- Yield: 10 manicotti 1x
Description
This spinach and three cheese manicotti is perfect for Italian food-loving vegetarians. Enjoy the perfect comfort food this fall with spinach and cheese stuffed manicotti smothered in marina sauce.
Ingredients
- 1 box (8 oz.) manicotti shells, cooked al dente
- 24 oz. marinara sauce
Filling:
- 10 oz. frozen/fresh spinach, cooked and drained
- 15 oz. ricotta cheese
- 1 large egg, beaten
- 1 1/2 cups mozzarella cheese, shredded and divided
- 1/2 cup Parmesan cheese, shredded
- Salt and pepper to taste
Instructions
- Cook manicotti shells in and spinach according to the package directions.
- Combine spinach, ricotta cheese, egg, 1 cup of mozzarella cheese, Parmesan cheese and salt and pepper to taste and mix well.
- Stuff each cooked manicotti shell with the filling mixture.
- In a baking dish, spread 1 cup marinara sauce on the bottom evenly.
- Arrange stuffed manicotti over sauce.
- Top with remaining sauce and leftover 1/2 cup of mozzarella.
- Bake at 350°F for 30 minutes.
- Dish and serve hot.
- Enjoy!
- Prep Time: 15 mins
- Cook Time: 40 mins


Comments & Reviews
I’m working on getting to where I can do homemade pasta to make Spinach & Feta Tortellini, would marinara be the best sauce to use for that? Also, what other sauces might work with that, as I love that in a Manicotti as well. I’m also working on finding the right cheeses for my family for a 3 cheese for each option, and a Mushroom version, but for that I’m thinking something like an Alfredo sauce might work better.
This looks SO good! Please send me your recipe. Thank you. Joyce Baker
I have made this twice now in less than a month and Everyone LOVES IT! TODAY I doubled the recipe cause I have so many that want some besides my husband. He ate 10 in half a day the first time I made it!
Delicious!!!!!!!
Wow, 10 in a day sounds like a good time to me! He must really, really like them 🙂 I’m so glad it’s a hit in your home and thank you for sharing, Sandee!
Great recipe. Made it today and it was delicious.
I’m glad to hear it and thank you for trying it out 🙂
Can this be put together and left uncooked in frig until ready to bake (say the night before – up to 24 hours)? Thinking of making ahead to save time for a family dinner. Thank you!
Yes, it can. Cover it and refrigerate it until you’re ready to bake. I would take it out about 30 minutes before baking and bring it to room temperature, then bake according to the recipe time and temp. You might need to add a little more baking time to account for it being slightly chilled. Enjoy the food!
I made this tonight, with just a few changes: I did NOT pre-cook the manicotti pasta, I added 1 tsp minced garlic to the filling and cooked at 400 for 35 minutes. It was delicious! Next time I’ll add some red pepper flakes for some heat.
Thanks for sharing your tips, KC. Garlic is a great addition to all things. Enjoy it the next time you make and I hope the red pepper flakes work out well. I love adding them to my marinara and pasta sauces.
My first time making this dish. My granddaughters said, “oooo, Gammy, this is delicious!’ 😊
I love it 😀 This comment made my day!
I have made this recipe several times. It is always a hit….delicious and super easy to make!
That’s great to hear, Angela! Thanks for coming back and letting me know you’ve made it so many times 🙂
Loved this recipe and the instructions for filling tubes.
I’m so glad the instructions helped! Thanks for trying out the recipe 🙂
P. S I add meatballs on the sides for people who have to have meat, lol
Meatballs are a worthy addition!
So delicious! The family Absolutely loves this dish! I have to make 2 trays, every time! Thank you.
I’m so happy you and your family liked it so much!! ? Thank you for your sweet comment and sorry for the delayed reply. Sometimes I miss comments.
I never cook the manicotti before baking. I stuff them dry with no worry of tearing, place them in pan that has a layer of tomato sauce on bottom, add stuffed pasta, cover with more sauce and bake. They always turn out well, never undercooked.
Same here have never pre cooked my manicotti. So much easier to handle and comes turns out great!
That’s actually a really handy tip! I can see it cooking in the oven with enough sauce to cover it. I’d love to hear from someone who made this recipe and tries this tip.
Hi Farah,
I can’t wait to make this this weekend! What’s the green garnish you put on top?
Hey Lauren, hope it turned out well for you. It’s just a little but of parsley as a garnish. I don’t usually include garnishes in my recipes as they don’t affect the flavor profile and it’s just to make it look pretty (as garnishes should!).
I’m a little late here, but I am hoping you still might be able to help me out. My son is allergic to eggs, do you know what I could use instead? I looked up vegan manicotti and it just does NOT sound good so I want to experiment with yours!
I have not personally tried it without egg as a binding agent in the filling but I’m thinking you could try breadcrumbs instead. There’s a whole lot of other suggestions I found on the internet on subs for egg as a binder like flax seed and water to make flax egg, but since I’ve never tried those, I can’t say much to them. I hope your experiment works out well!
I never use egg. They turn out great.
I’m sos glad to hear this !!! I’m going to try it with it with out egg.
Just looking at these makes my mouth water!! on my list for must make sure this week!!
I hope it turned out well for you!