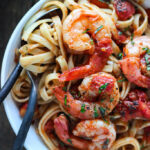
Juicy jumbo shrimp in a sweet and spicy marinara sauce makes spicy shrimp pasta Diavolo the perfect 20-minute meal for seafood pasta lovers.
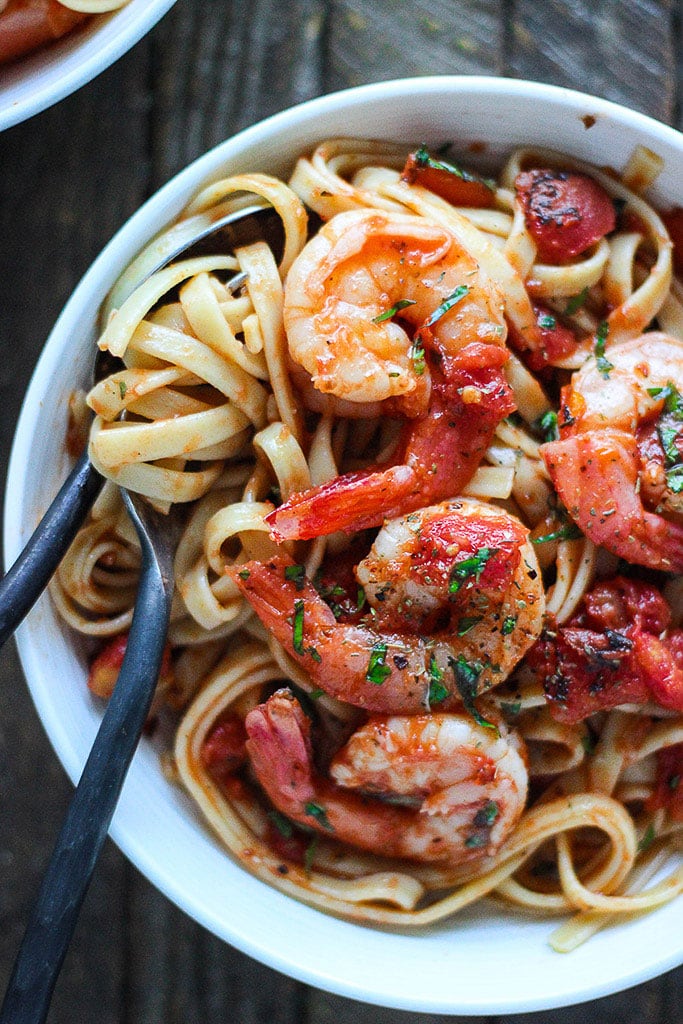
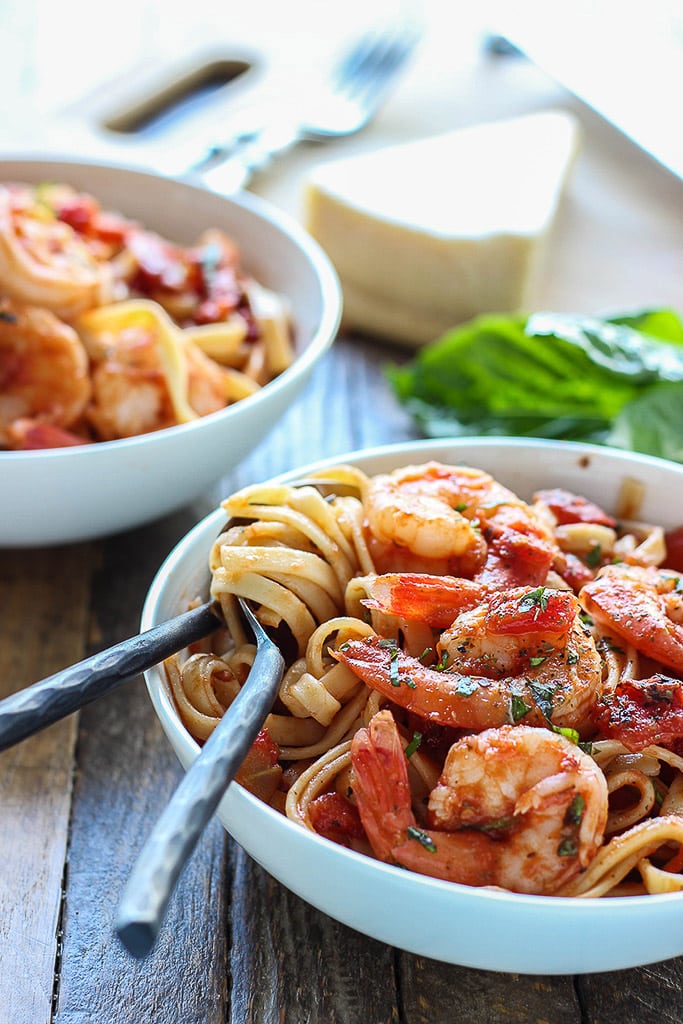
What better way to start a new year than with some protein-packed pasta. Juicy jumbo shrimp sitting on a bed of your favorite pasta, simmering in a slightly spicy, slightly sweetened marinara sauce dotted with chunks of fire-roasted diced tomatoes. Top this 20-minute meal with some fresh basil and a hearty serving of Parmesan cheese and you’re all set.
So today we’re making a simple and spicy shrimp pasta Diavolo. The red sauce is the star of the show with fresh garlic and basil, a splash of white wine and spiced up with some red pepper flakes. And even with its big flavor, this one is pretty simple to make. So let’s get started.
SPICY SHRIMP PASTA DIAVOLO RECIPE TIPS
While cooking your pasta until al dente, we’ll make the sauce. Saute your onions, garlic and red pepper flakes then add in the tomatoes and tomato sauce. Toss in the additional seasonings and wine (optional) and simmer gently until it’s nice and thick.
Add in the shrimp which you’ll only need to cook for a couple of minutes and since shrimp cooks really fast, you’ll want to babysit them. Cook them just enough that they stay plump and juicy. You’ll know you’ve overcooked it when they start shrinking in size. Then we toss the cooked pasta in with the sauce and mix it all up.
And that’s about it. Serve with some buttery garlic bread or garlic knots. Happy cooking and enjoy!
MORE SEAFOOD PASTA TO TRY
Did you make this recipe? Rate it!
♡ If you liked this recipe, giving it a star rating ★★★★★ in the comments below really helps! For more recipes, subscribe to my newsletter or follow me on Facebook, Instagram and Pinterest.
Spicy Shrimp Pasta Diavolo
- Total Time: 20 minutes
- Yield: 4 1x
Description
Juicy jumbo shrimp in a sweet and spicy marinara sauce makes spicy shrimp pasta Diavolo the perfect 20-minute meal for seafood pasta lovers.
Ingredients
- 12 oz. linguine/fettuccine/spaghetti/angel hair
- 1 lb. uncooked large shrimp, peeled and deveined
- 1/2 yellow onion, diced
- 1 teaspoon garlic, minced
- 1/2 teaspoon red pepper flakes
- 2 cans (14.5 oz.) fire-roasted tomatoes, drained
- 1 can (8 oz.) tomato sauce
- 1 tablespoon sugar
- 1 teaspoon Italian seasoning
- 1/2 cup white wine (optional)
- Salt and pepper to taste
- 1/4 cup fresh basil/parsley, chopped
- Parmesan cheese for serving
Instructions
- Cook the pasta according to package directions until al dente. Drain and set aside.
- Over medium-high heat, saute onions, garlic and red pepper flakes in some oil until fragrant, about 2 minutes.
- Pour in tomatoes and tomato sauce.
- Add in sugar, Italian seasoning, white wine and salt and pepper to taste. Bring to a gentle boil.
- Reduce heat to medium-low and simmer for 10 minutes until the sauce has thickened.
- Add shrimp to the sauce and simmer for another 3 minutes until shrimp are cooked and opaque.
- Toss pasta and shrimp with sauce.
- Dish and serve hot topped with fresh basil or parsley and some Parmesan cheese.
- Enjoy!
- Prep Time: 5 mins
- Cook Time: 15 mins


Comments & Reviews
Excellent recipe, only change I made was since I didn’t have an 8oz can of tomato sauce, I used a 10oz can of Ro Tel (drained). Everyone enjoyed it tremendously.
Great way to substitute things on the fly. Thank you for trying out an older recipe of mine and being the first to leave a review, Sandy! It really helps! ❤️