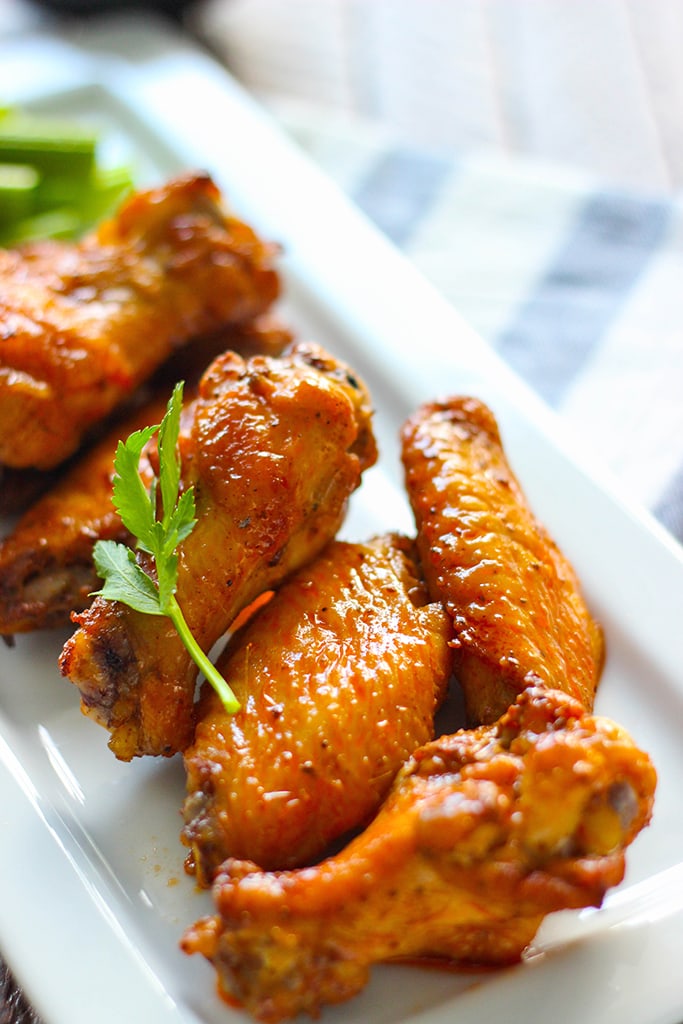
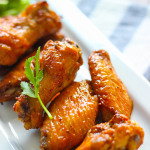
Avoid the calories of deep-frying with these oven-baked Old Bay buffalo wings. Here’s a healthier way to enjoy hot and crispy wings, without the mess and guilt of being fried.
Remember how we used a little Old Bay seasoning in our cheddar bay biscuits last week? Today we’re going to use it again for some oven-baked Old Bay buffalo wings. It’s been a long time since I made wings. I think it’s as far back as the grilled Sriracha hot wings I made last year. I’d say it’s due!
These wings are lovingly marinated overnight and then baked for 30-45 minutes before it’s tossed in a buttery hot sauce. And while 45 minutes sounds like a long time, it’s mostly hands-off time which means you can go do other things and in 45 minutes, your wings are ready. Sounds good? Let’s start!
I used about 2 pounds of chicken wings. This should give you about 12-15 wings. You can go for wingettes, drummettes, a combination of both, or the full wing if you want. The prep time takes all of 5 minutes at the beginning of the marination stage. Simply combine some Old bay seasoning with baking powder and salt and pepper to taste. You won’t need a lot of salt if any because the Old Bay is pretty salty on its own.
I like to marinate stuff in Ziploc bags. You can massage the marinade into meats easily this way. Tuck away the wings in the fridge for overnight marination and this stage is pretty much done.
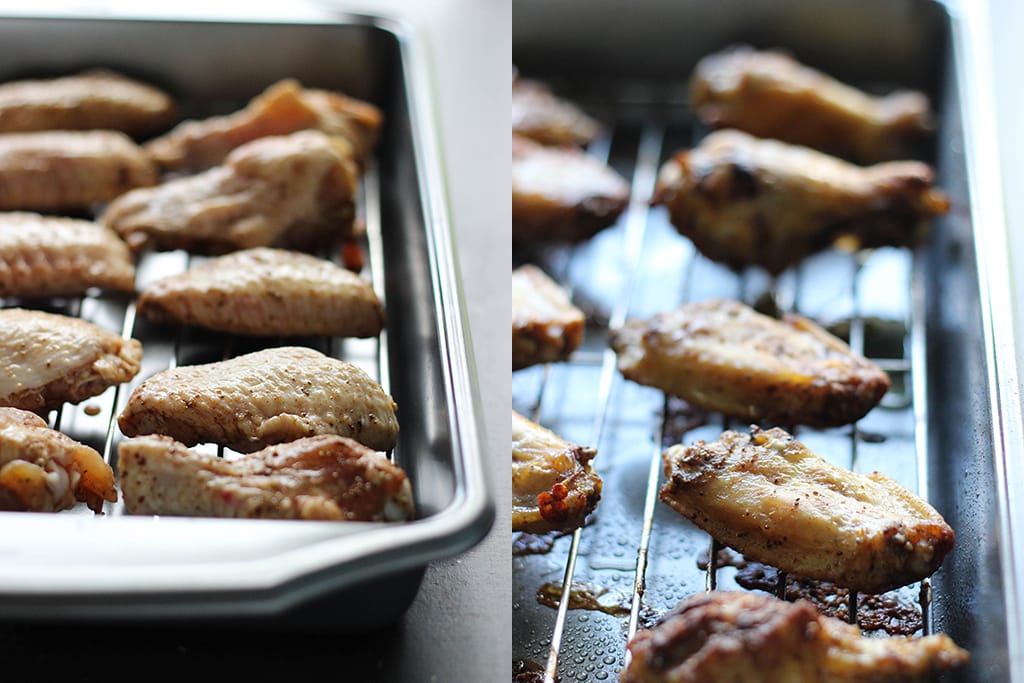
The next day, we’ll get ready to bake it. Now anything chicken with skin will render fat that tends to pool up and make things very soggy. You want crispy wings so I solved that by placing the wings on a cooling rack nestled on a baking sheet. This way, the fat can melt and collect at the bottom of the pan and stay away from the wings. There are other methods but this is a simple fix. Try not to overcrowd your wings to ensure maximum crispiness.
So we’ll do that and bake at 425 degrees F for 30-45 minutes in the middle rack. Check on it at the 30-minute mark to see if they’re good enough for you. They should have an internal temperature of 165 degrees F when using a meat thermometer. Don’t forget to turn the wings over halfway to crisp up the other side. Once they’re cooked, if you want them even crispier, broil them on the top rack for 2-3 minutes. This will be a bit messy with oil bouncing off everywhere but it’s worth it!
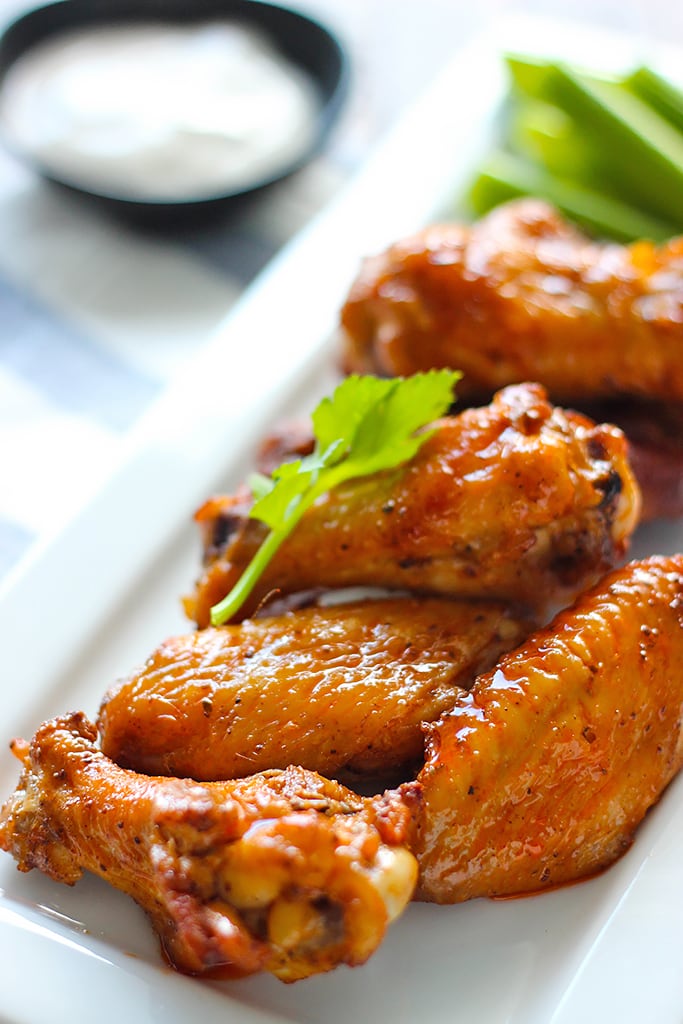
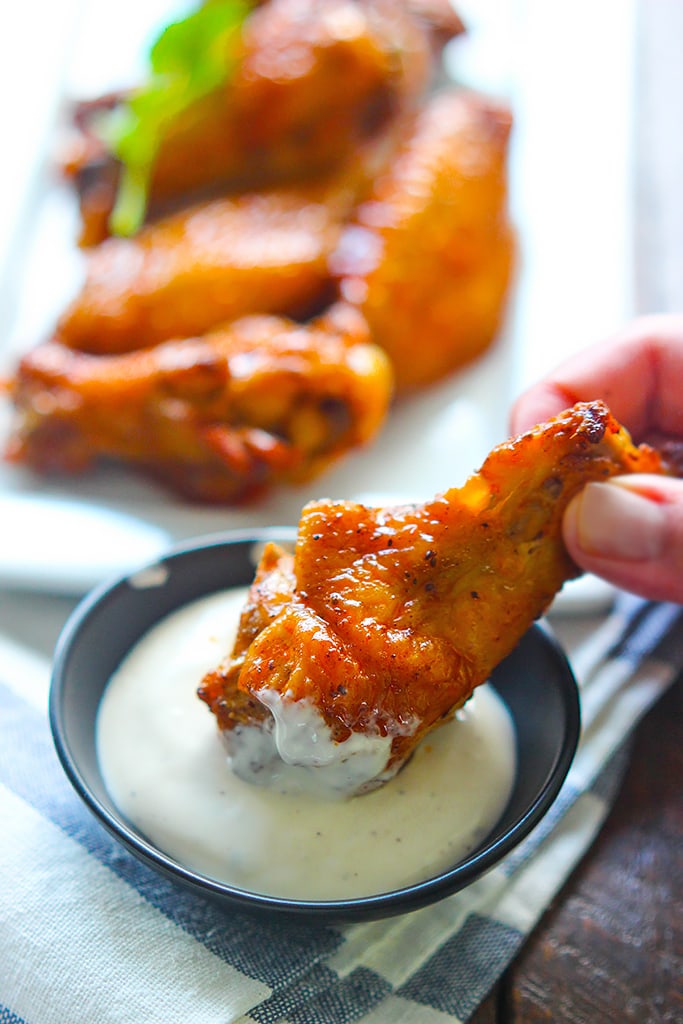
Then it’s the second prep stage where you mix hot sauce with the rest of the stuff to make a good buffalo sauce. This literally takes less than 5 minutes. Once the wings are cooked, toss them in the sauce to coat them and get ready to serve! If you want a super thick coating on your wings, you can reduce the sauce over the stovetop before tossing. Feel free to add more hot sauce if you like them even spicier.
Dish them up with some celery sticks and ranch or blue cheese sauce. If you need even more wings for a big group, double the ingredients and use two baking sheets.
PS: Want to put your Old Bay seasoning to good use? How about some soups? Try out a creamy spicy chicken and corn chowder or an old-fashioned one-pot chicken noodle soup.
Did you make this recipe? Rate it!
♡ If you liked this recipe, giving it a star rating ★★★★★ in the comments below really helps! For more recipes, subscribe to my newsletter or follow me on Facebook, Instagram and Pinterest.
Oven-Baked Old Bay Buffalo Wings
- Total Time: 55 mins
- Yield: 12-15 wings
Description
These oven-baked Old Bay buffalo wings are truly delicious. An easy recipe to make some buffalo wings at home!
Ingredients
- 2 lb. chicken wings
- 1 tablespoon Old Bay seasoning
- 1 teaspoon baking powder
- Salt and pepper to taste
Buffalo Sauce:
- 1/2 cup Frank’s hot sauce
- 4 tablespoons butter, melted
- 1 teaspoon Worcestershire sauce
- 1/8 teaspoon garlic powder
- Salt to taste
Instructions
- Mix the Old Bay seasoning with baking powder and salt and pepper to taste.
- Marinate the wings for 30 minutes with the Old Bay seasoning mix.
- Place a cooling rack on a baking sheet and line up the wings to let the fat render below the wings.
- Bake the wings at 425°F for 30-45 minutes or until browned and crispy, flipping the wings over halfway through the cooking time. Broil on the top rack if needed for an extra 2-3 minutes for more crispiness.
- Combine ingredients for the buffalo sauce in a large mixing bowl.
- Toss the wings in the sauce until evenly coated.
- Dish and serve warm with carrots, celery sticks, ranch, or blue cheese dressing.
- Enjoy!
- Prep Time: 10 mins
- Cook Time: 45 mins


Comments & Reviews
Can this recipe be adapted for air fryer? Directions?
I would try 400°F for 8 minutes on one side, flip, and air fry for another 8 minutes. The rest of the recipe should stay the same. Depending on your air fryer model and the capacity, you might want to do this in batches so you don’t overlap the wings. To get crispy they cannot be stacked.
Can you use any other buffalo sauce instead of the the Frank’s. I know it’s your favorite but I don’t have that brand on hand.
Sure, Toni. Go ahead and use whatever buffalo sauce you prefer. As long as it’s buffalo sauce it’ll work!
I don’t have a baking rack. Do you have other tips for making these nice and crispy?
Thanks!
Hmm, not really. This really is the best way to render the fat from the skin without getting the bottom of the wings all soggy!
My kids love buffalo wings, however, I wanting to be able to make them and not buy them. I’ll be sure to marinate them overnight before I bake them. I like your idea of putting the chicken on a cooling rack which is then on top of the baking sheet, I’ve never heard of doing that before. I can’t wait to try these out on my own this week, thank for the help!
Glad to help out, Petunia! I hope these work out for you and your kids! Food is always better when enjoyed in the comfort of your home.
Do you have to marinate?
It’s better to marinate overnight, but if you’re short on time try marinating 30 minutes before baking instead.
these look so yum! Im not a huge fan of wings but my man loves them. Now that I have a way to bake them and still get them crispy he has a much better chance of getting them for dinner lol. Thanks for the recipe!
We had some fried buffalo wings for an appetizer recently when we dined out. It’s funny but the hubs said he preferred these baked ones more. I really didn’t expect that!
marinate overnight with old bay? really? then have that marry what we all know and love then throw in some worcestershire sauce cause that’s how you roll? these small tweaks that honor the original, yet push a little somethin’ somethin’ are killing me with happiness and excitement. i need this now. i kid you not. i will buy wings when i go out to the market today.
You know me and Worcestershire sauce! I love it but I still have problems spelling it and need the auto correct! The hubs loved this one so I have another bag of chicken wings waiting for round two of these. Honestly though, I think I secretly only like buffalo wings as a vessel and excuse to eat lots of ranch dressing!
I Like
Thanks, Catherine!
Hi Farah! The baking soda trick is just the thing for crispy wings! I always have Frank’s on hand and blue cheese dressing is my go to! I think your biscuits would go nicely with these!
I really love that sauce. I foresee lots of chicken wings in the future for our meal rotation. The hubs raved over these and I figure might as well finish up the bottle, right? 😉 Great idea on pairing it with the biscuits too!