This delicious chili mac and cheese with ground beef, diced tomatoes, chili beans, pasta and cheese is the perfect comfort food for winter.
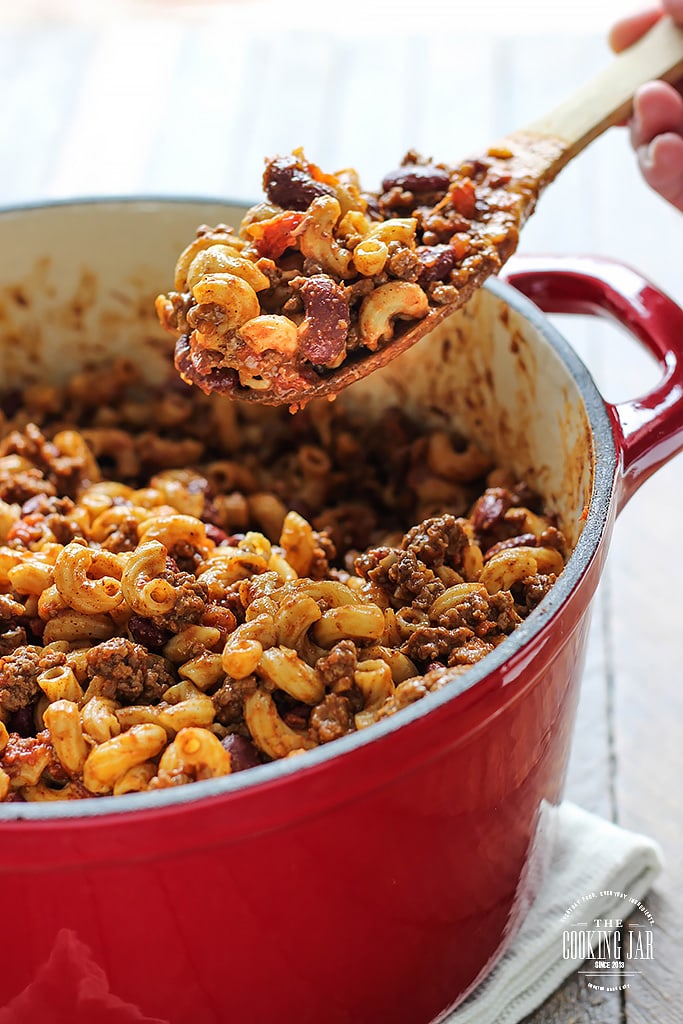
We’re starting the new year with a bang! Everyone loves a good chili and everyone loves mac and cheese. In the past, I’ve spiced up the classic mac and cheese with jalapenos and bacon. But today we’ll be combining these two family favorites in a recipe to make chili mac and cheese, a comfort dish that will warm you up and give you all the cozy feelings this winter.
I was lucky to taste this at a company potluck this Christmas and a good friend of mine passed on the recipe. It’s not so cheesy and rich that you can’t have it as a main dish but it’s versatile enough, that if you do want it that cheesy, you can (just toss in more cheese!). But for now, we’re treating this as a main dish to pass around the family table. So let’s begin.
CHILI MAC AND CHEESE RECIPE TIPS
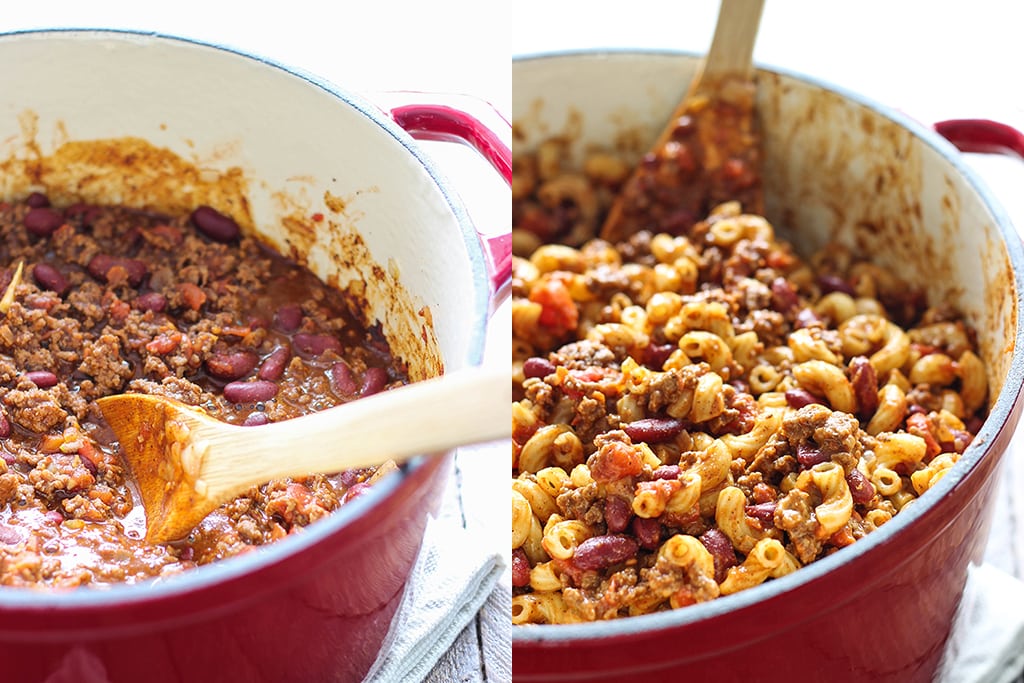
Start by cooking your pasta. While that’s busy simmering, we’ll make the chili. Brown your ground beef in a dutch oven until cooked then remove it and drain the fat. I used super lean ground beef but it still rendered some fat. Drain the fat then remove the beef and set it aside.
Then we sauté the onions and garlic until that wonderful aroma fills the kitchen. Add the beef back into the pot along with your tomatoes, chili beans, and seasoning. Make sure you drain the tomatoes so we spend less time thickening the chili. If you’re not a fan of beans, you can skip them. If you have your own chili mix and like making it yourself, feel free to substitute the packet mixes. Two packets came up to half a cup of seasoning.
Mix it all up! Be gentle though, so you don’t mangle the beans. Then we simmer for a while. I did it for about 5 minutes to get a quick dinner on the table but you can do it for as long as you like to marry the flavors. Season it with salt and pepper or more chili powder and cumin if you need more flavor. Once it’s done, add the cooked and drained pasta to the pot along with a cup of cheddar cheese. Mix, mix, mix!
You can stop here and dish your chili mac and cheese proudly, or you can make it into a casserole by transferring it to a 9×13 casserole dish and topping it with some extra cheese. Bake at uncovered at 350°F for 20-30 minutes until the casserole is bubbly and cheese has melted.
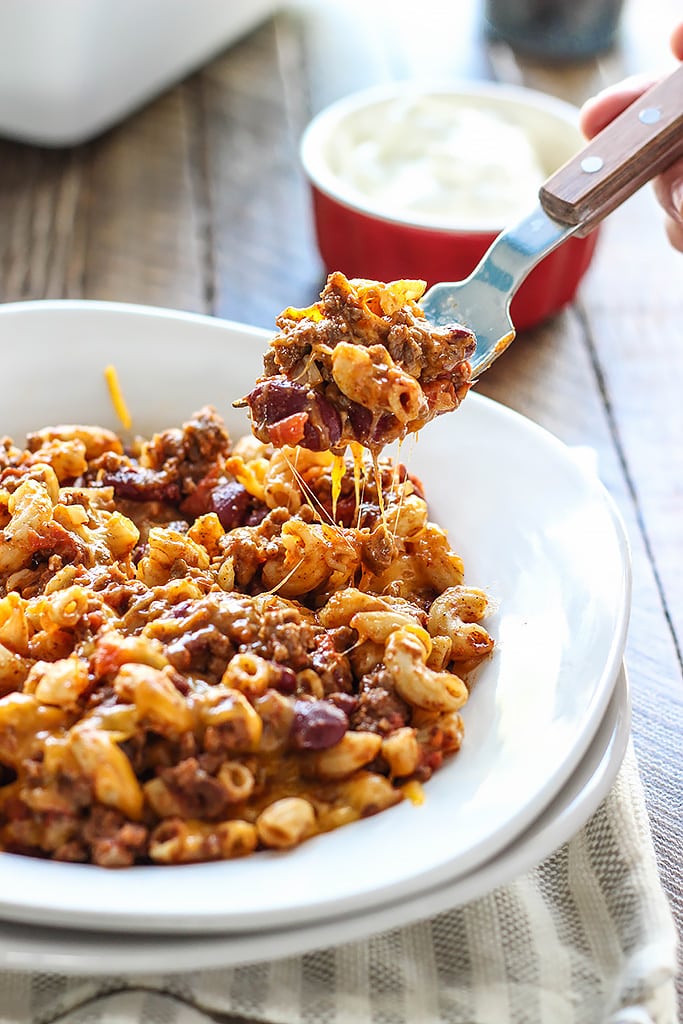
And that’s all there is to it. Serve with some sour cream if you like or skip it if you’re not a fan. I added some hot sauce 😉 Enjoy!
MORE MAC AND CHEESE RECIPES TO TRY
- Baked Mac and Cheese
- Chipotle Chili Mac and Cheese
- Bacon Jalapeno Mac and Cheese
- Velveeta Mac and Cheese
Did you make this recipe? Rate it!
♡ If you liked this recipe, giving it a star rating ★★★★★ in the comments below really helps! For more recipes, subscribe to my newsletter or follow me on Facebook, Instagram and Pinterest.
Chili Mac and Cheese
- Total Time: 40 mins
- Yield: 8–10 1x
Description
This delicious chili mac and cheese with ground beef, diced tomatoes, chili beans, pasta and cheese is the perfect comfort food for winter.
Ingredients
- 2 lb. ground beef
- 1 medium yellow onion, diced
- 1 teaspoon garlic, minced
- 1 (28 oz.) can petite diced tomatoes, drained
- 2 (16 oz.) cans kidney chili beans in mild sauce
- 2 packets chili seasoning
- 1 lb. elbows pasta
- 1 cup cheddar cheese, shredded
Instructions
- Cook the pasta according to package directions until al dente. Drain and set aside.
- While the pasta is cooking, start making the chili. Over medium high heat in a dutch oven, brown the ground beef until cooked, about 5 minutes. Break up any clumps.
- Remove beef and set aside. Drain any excess fat.
- In the same pot, saute onions and garlic in some oil until fragrant, about 2 minutes.
- Add in cooked beef, tomatoes, chili beans and chili seasoning. If needed, season with salt and pepper to taste.
- Reduce heat to medium and simmer for 5 minutes.
- Add cooked pasta and 1 cup cheddar cheese to the chili and stir to mix well until cheese has melted.
- Dish and serve hot.
- Enjoy!
Notes
Adapted from Dianna B (thanks!)
- Prep Time: 10 mins
- Cook Time: 30 mins




Comments & Reviews
This casserole is delicious. Makes a lot and tastes just as good reheated. Making for dinner tonight and sharing with our daughters family.
Sorry I’m a bit late in replying. I must have missed this comment. I’m so glad you enjoyed it, Rose! It’s one of my favorite ways to enjoy mac and cheese too 🙂
Came out perfectly! Very easy to follow directions. I’m not a fan of onions so I used onion powder instead of onions and it worked fine! This made alot of food so we’ll be set for the rest of the week.
Onion and garlic powder will work. I’m glad you managed to tweak it to your tastes and that you enjoyed it! Thanks for sharing, Jake.
I’m in love with this recipe! It is such a hearty meal and it yields so much!! I changed it up just a tad though. If you are a cheese lover, you can never have too much cheese. I was very liberal with my shredded cheddar and it turned out beautifully. Also if you like a little heat in your chili, I recommend a few shakes of cayenne pepper. It really takes it to the next level! Great recipe and idea! Thanks for sharing!
Absolutely, Becky! Spicing it up with cayenne is a great idea. Or make it slightly smoky with smoked paprika (one of my favorite spices).
Can this be made ahead and reheated as a casserole in the oven?
Yes it can! When reheating in a casserole dish, make sure it’s heated all the way through is all. And like most casseroles, you can top it with a layer of cheese too!
Making this for dinner tonight…looks yummy!
It is! I hope it turned out okay for you, Elizabeth.
Oh gosh! This looks so good. Pinned. I will be making this casserole soon. Thanks for sharing.
You’re welcome and good luck making it, Mary! Hoping you enjoy it.
So simple and a favorite at our house!
We’re just about done finishing it off, just the two of us. Hubs had more of his fill than me, and he’s been pretty happy about it! Of course, he added extra cheese on top of his portions before heating it up 😉